24/7 Emergency Service | Licensed & Insured | Upfront Pricing.
 Call Now: (786) 638-7923
24/7 Emergency Service | Licensed & Insured | Upfront Pricing.
Call Now: (786) 638-7923
Rust stains ruining the look of your sink? Don't panic. Whether it's a simple surface clean or a full replacement, this guide will walk you through every step to restore your sink's beauty and functionality.
A rusty sink is more than just an eyesore; it's a sign of deterioration that can affect both the functionality and hygiene of your kitchen or bathroom. Whether you're dealing with minor surface rust on a stainless steel sink or major corrosion on an enameled cast iron one, understanding your options is key. This comprehensive guide will walk you through the entire process, from damage assessment to the final fix, helping you decide whether cleaning and restoration, a targeted repair, or a full sink replacement is the right choice for your home and budget.
Before you begin any work, a thorough damage assessment is crucial. The correct approach – whether a simple clean-up or a major project – depends entirely on the severity of the rust.
Surface rust appears as reddish-brown stains or a light film that hasn't penetrated the underlying metal. You can often feel it as a rough texture on an otherwise intact surface. This is common on stainless steel sinks around the drain area where the protective layer has been scratched. Deep corrosion, on the other hand, involves pitting – small holes in the metal – or even holes that go all the way through. If the enamel is chipping away to reveal rusty metal beneath, or if the sink feels structurally weak, you are dealing with a more serious problem that may not be solvable with a simple rust remover.
A good rule of thumb is that repair is a viable option for surface rust and minor damage like small chipping enamel or isolated pitting. If the rust is widespread but the sink base is still solid, a restoration involving sanding and a new protective coating might work. However, replacement is the only safe and sensible option when you find holes that cause leaks, when the metal fatigue is extensive (common in cheap metal sinks), or when the enamel is extensively damaged. Attempting to repair a structurally compromised sink is a temporary fix at best.

Once you've confirmed the rust is superficial, the next step is removal. The best method depends on your sink's material.
Chemical rust removers are highly effective for dissolving rust without abrasive scrubbing. Commercial products like CLR (Calcium, Lime, and Rust Remover) contain acids that break down rust quickly. For a more natural approach, a paste of baking soda and vinegar or a treatment with phosphoric acid (found in some colas) can work on light rust. Always wear gloves and ensure the room is well-ventilated. Apply the chemical rust remover, let it sit for the recommended time, then scrub and rinse thoroughly. This method is excellent for intricate areas around the drain strainer.
For tougher rust, mechanical methods are necessary. Start with a coarse-grit sandpaper (like 80-grit) to grind away the rust spots, then progressively move to finer grits (220-grit and then 400-grit) to smooth the surface. For stainless steel, you must sand in the direction of the grain to avoid visible scratches. A wire brush attachment on a drill can speed up the process on large, flat areas. The goal of sanding is to reach bare, clean metal. This method requires more elbow grease but gives you complete control over the restoration.
If rust has caused physical damage, a targeted repair can extend your sink's life.
For a chipping enamel sink, a two-part epoxy coating repair kit is the solution. These kits come with a filler compound that you mix and apply precisely to the chipped area. The key is to clean and lightly sand the chip first to ensure adhesion. Apply the epoxy in thin layers, building it up slightly above the surface. Once it cures, you can sand it flush and, if the kit includes it, apply a color-matched topcoat. While the repair may not be completely invisible, it will seal the exposed iron from water and prevent further corrosion.
For small holes (less than a quarter-inch) in a metal sink, waterproof epoxy putty can be a temporary lifesaver. This putty is kneaded until uniform and then pressed firmly over the hole, sealing it from both sides if possible. It hardens into a rock-solid, waterproof plug. While this is not a permanent replacement-level fix, it can stop a leak and buy you time to arrange for a new sink. It is not recommended for areas with significant water pressure or direct impact.
After removal or repair, protecting the surface is essential to prevent rapid rust recurrence.
For a sink that has been extensively sanded, a new protective coating is needed. Appliance epoxy paint is a DIY-friendly option that provides a hard, durable surface. For a more professional and durable result, a two-part epoxy coating designed for sinks (like those used by tub refinishers) is superior. These require more skill to apply without drips but result in a glossier, more chemical-resistant finish that closely mimics original enamel. Proper surface cleaning and degreasing are critical before any coating application.
After applying the coating, allow it to cure fully according to the manufacturer's instructions – this can take several days. Once cured, the sink will be ready for use. To maintain the new finish, avoid abrasive cleaners and use a soft cloth for cleaning. This final step ensures the surface is not only aesthetically pleasing but also hygienic and easy to clean, restoring the sink's functionality for the long term.

When repair isn't feasible, replacement is the best long-term investment.
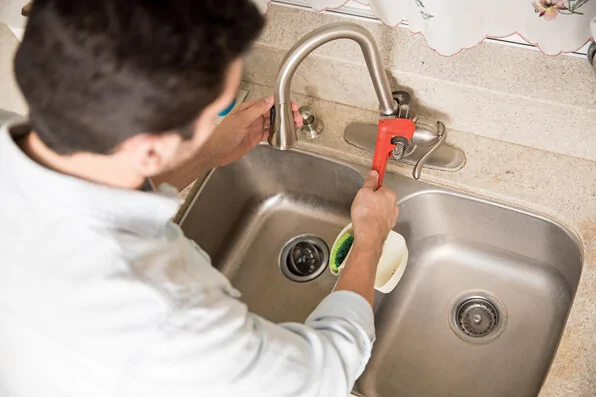
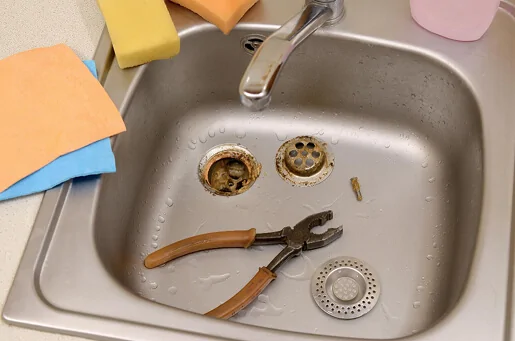
Start by turning off the water supply and disconnecting the water lines and the drain assembly (the P-trap). Have a bucket ready for residual water. For a drop-in sink, you'll need to cut the caulk around the edges and loosen the clips underneath. For an undermount sink, you'll need support from below before unscrewing it from the brackets. Carefully lift the old, rusted sink out. This is a good time to clean and inspect the countertop area.
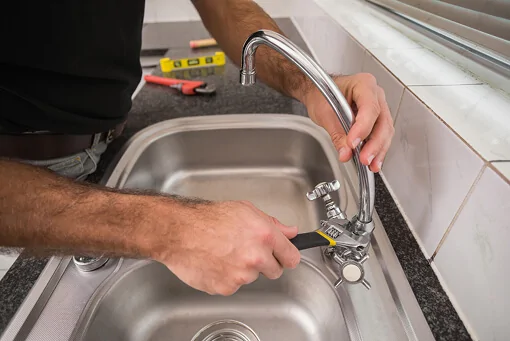
Follow the manufacturer's instructions precisely. For a drop-in sink, apply a bead of silicone caulk on the rim, set the sink in place, and tighten the mounting clips from below. For an undermount sink, secure it with brackets. Then, reconnect the water supply lines and the new drain assembly. Always perform a leak test by running water and checking all connections before regular use.
Prevention is always easier than cure.
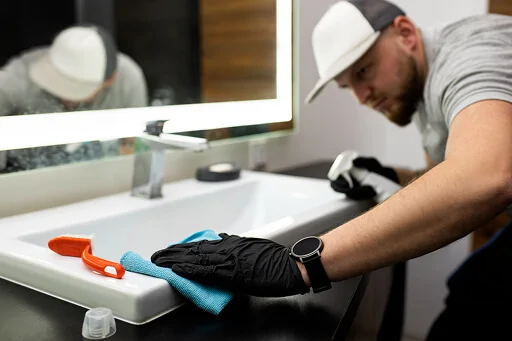
Wipe the sink dry after each use to prevent water spots and mineral buildup. Avoid leaving wet steel wool or rusty cans in the sink. Use a sink grid or mat to protect the bottom from scratches that can compromise the finish and lead to surface rust.
If you have hard water, regular cleaning with a vinegar solution can prevent mineral deposits that trap moisture and accelerate corrosion. Avoid using harsh acidic or abrasive cleaners that can damage protective finishes.
Fixing a rusty sink is a clear example where the right solution depends on a careful damage assessment. For minor issues, a DIY approach using chemical rust removers or a repair kit can be highly effective and cost-efficient. However, when faced with significant deep corrosion or structural damage, investing in a sink replacement with a rust-resistant material is the wiser long-term decision for your home's value and your daily convenience. By understanding the repair cost, time investment, and expected durability of each option, you can make an informed choice that restores both beauty and function to your kitchen or bathroom.